DIY Waterproofing a Minimalist Living Room with Joint Compound
When it comes to waterproofing a minimalist living room, there are several factors to consider. One of the most effective and cost-friendly methods is using joint compound, also known as drywall mud. Joint compound is a versatile substance used in various construction projects, including drywall installation, filling gaps, and repairing cracks. In this article, we will explore the process of DIY waterproofing a minimalist living room with joint compound, providing you with the necessary tools and techniques to achieve a beautiful and long-lasting result.
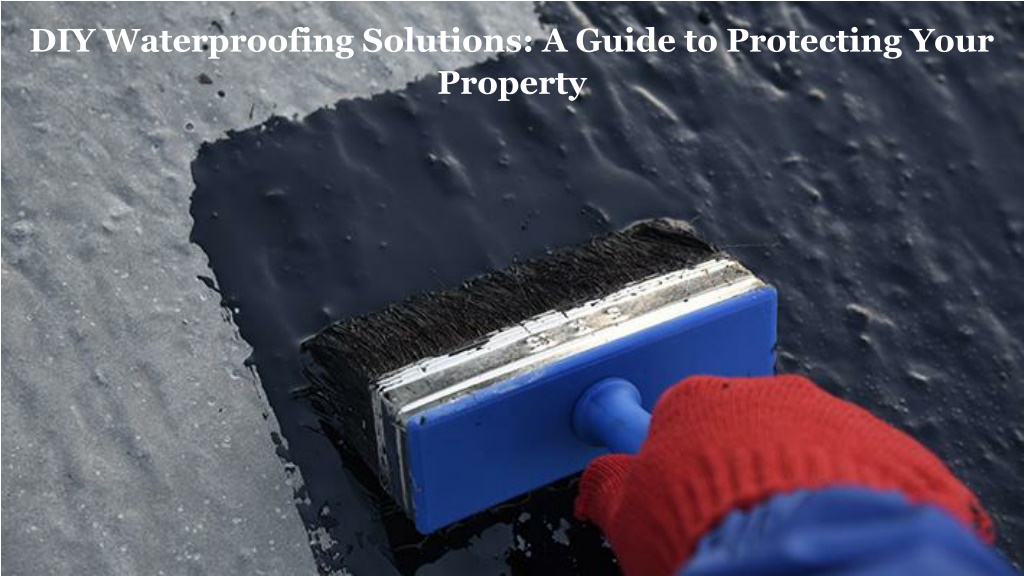
This particular example perfectly highlights why Diy Waterproofing A Minimalist Living Room With Joint Compound is so captivating.
Understanding Joint Compound

Furthermore, visual representations like the one above help us fully grasp the concept of Diy Waterproofing A Minimalist Living Room With Joint Compound.
- Pros of using joint compound:
- Cost-effective
- Easy to apply
- Long-lasting result
- Cons of using joint compound:
- Softens when exposed to water
- Can foster mold growth if not properly waterproofed
- Using a bond breaker: A bond breaker is a silicone or polyurethane sealant that allows joint movement to happen naturally, independent of the waterproofing membrane.
- Applying a waterproofing membrane: A waterproofing membrane can be applied on top of the joint compound to prevent water from seeping into the walls.
- Using a hot mud: Hot mud is a type of joint compound that is specifically designed for areas with high humidity, such as bathrooms. It is more resistant to water than standard joint compound.
- Joint compound (drywall mud)
- Putty knife or trowel
- Bond breaker (optional)
- Waterproofing membrane (optional)
- Hot mud (optional)
- Clean cloth or sponge
- Water-resistant primer (optional)
- Prepare the surface
- Apply joint compound in thin layers
- Allow each layer to dry
- Apply a bond breaker or waterproofing membrane (if using)
- Apply a hot mud (if using)
- Finish with a clean cloth or sponge
- Optional: Apply a water-resistant primer
- A web-based tutorial on how to texture walls with joint compound
- A step-by-step guide on how to apply a bond breaker
- A guide on how to choose the right type of joint compound for your project
- DIY Textured Wall Art with Joint Compound
- How to Create a Faux Brick Wall Using Joint Compound
- DIY Waterproofing Methods for Drywall
Preparing the Surface
Before applying joint compound, it is essential to prepare the surface. Make sure the area is clean, dry, and free of any debris. Use a putty knife or trowel to apply the joint compound, spreading it evenly across the surface. Ensure that the compound is applied in thin layers, allowing each layer to dry before applying the next one.
DIY Waterproofing Methods
There are several DIY methods to waterproof joint compound, including:
Tools and Materials Needed
To DIY waterproof a minimalist living room with joint compound, you will need the following tools and materials:
Step-by-Step Instructions
To waterproof a minimalist living room with joint compound, follow these step-by-step instructions:
Conclusion
DYI waterproofing a minimalist living room with joint compound is a cost-friendly and effective method for adding texture and definition to a wall, mantle, or any other space. With the right tools and techniques, you can achieve a beautiful and long-lasting result. Remember to prepare the surface, apply joint compound in thin layers, and use a bond breaker or waterproofing membrane to ensure the joint compound is properly waterproofed.
Additional Tips and Resources
For more information on DIY waterproofing a minimalist living room with joint compound, check out the following resources:
Related Articles:


![View of Is Drywall Mud Waterproof: 5 DIY Methods [Effective]](https://diywaterproofing.com.au/cdn/shop/articles/waterproofing-DIY_Waterproofing-Blackburn_North_3130-blog_31_7cc12bff-3859-4cfd-a547-6e689ad83ae7.jpg?v=1669251175 "Is Drywall Mud Waterproof: 5 DIY Methods [Effective]")


 - Refresh Living")


