Cheap Ways to Renovate Apartment Textured Ceilings
Textured ceilings can be a thing of the past with a little creativity and some affordable materials. In this article, we'll explore cheap ways to renovate apartment textured ceilings, adding depth, interest, and a touch of elegance to your living space.
Understand the Basics of Textured Ceilings
Textured ceilings, also known as popcorn ceilings, were a popular design choice in the 1960s and 1970s. The textured finish was created by applying a mixture of water, gypsum, and additives to a surface, which was then sprayed onto the ceiling. However, with the passage of time, these ceilings often develop imperfections, stains, and an outdated look.

Cost-Effective Solutions for Textured Ceilings
There are several affordable solutions to renovate textured ceilings, depending on your desired outcome. Here are a few options to consider:
- Painting: A fresh coat of paint can work wonders for textured ceilings. Choose a high-quality ceiling paint that adheres well to the textured surface and covers stains and imperfections. This is an easy and affordable way to update the look of your ceiling.
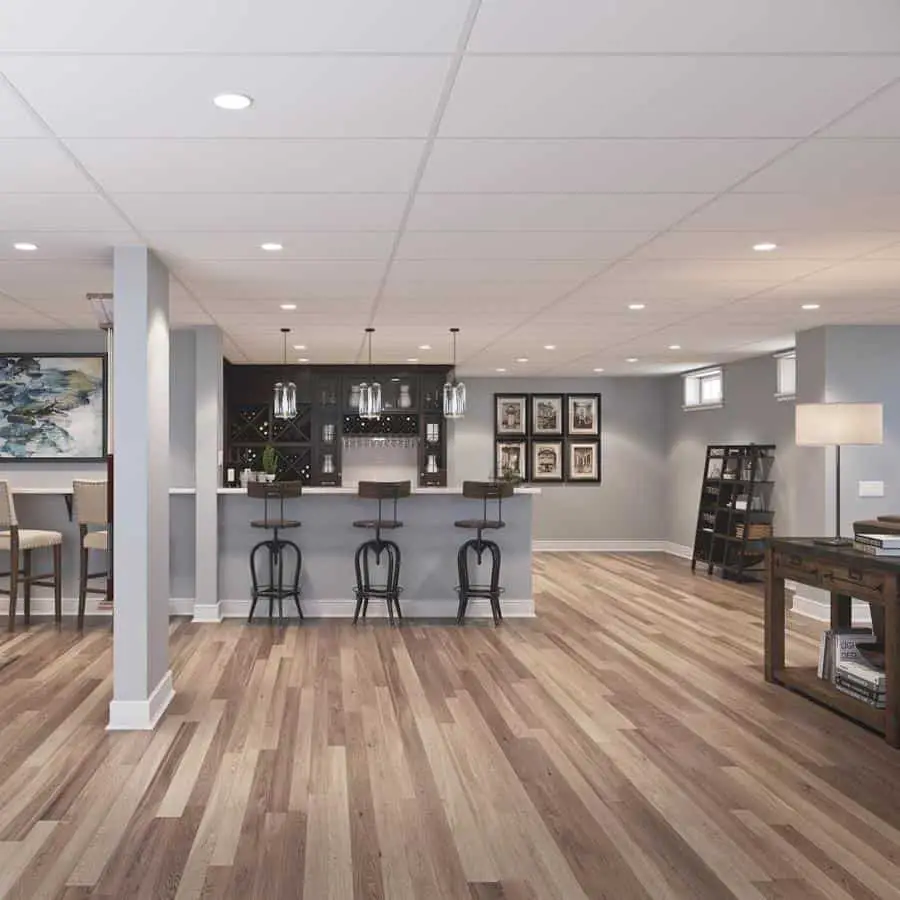
- Stylish Ceiling Tiles: Replace old, outdated ceiling tiles with stylish, modern options that add texture and interest to your ceiling. You can choose from a wide range of designs, materials, and patterns to suit your taste and style.
- Drywall Texture: If you're looking to add more depth and visual interest to your ceiling, consider applying a drywall texture. This involves applying a mixture of drywall mud and paint to the ceiling, creating a unique, textured finish.
- Wallpaper: Yes, you can even use wallpaper on your ceiling! Choose a design that complements your room's decor and add a touch of elegance with this unconventional yet effective solution.
DIY Texture Ceiling Ideas
- Skip Trowel Texture: Watch a video tutorial to learn how to create a skip trowel texture, a popular choice for textured ceilings. This technique involves applying a mixture of joint compound and texture additive to the ceiling.
- Comb Texture: Create a simple comb texture by applying a mixture of joint compound and texture additive to the ceiling using a notched trowel.
- Floral Texture: Add an intricate, floral texture to your ceiling by applying a mixture of joint compound and texture additive using a specialized tool or stencil.
Additional Tips and Considerations

Before embarking on your textured ceiling renovation, keep the following tips and considerations in mind:
- Assess the condition of your ceiling: Determine the extent of damage, stains, and imperfections before choosing a renovation method.
- Consider your budget: Set a realistic budget and choose a renovation method that fits within your means.
- Research local regulations: Familiarize yourself with local building codes, regulations, and permits required for ceiling renovations.
- Consult professionals: If you're unsure about any aspect of the renovation process, consider consulting a professional contractor or designer for guidance.


:max_bytes(150000):strip_icc()/GettyImages-1253112119-fab7c3a83bed48499041241bf430e462.jpg "75 Home Design Ideas You'll Love - March, 2026 | Houzz")