DIY Waterproofing a Minimalist Living Room with a Waterproof Membrane
Protect Your Home from Water Damage with a Simple yet Effective Solution
A well-designed and well-maintained living room is a haven for relaxation and entertainment. However, it's essential to ensure that this space remains protected from water damage and moisture-related issues. In this article, we'll explore the benefits of DIY waterproofing a minimalist living room with a waterproof membrane, and provide a step-by-step guide to achieve a watertight seal.
Understanding the Importance of Waterproofing
Waterproofing is a critical aspect of home maintenance, especially in areas prone to moisture, like bathrooms and kitchens. A waterproof membrane serves as a barrier between the surface and the wall or ceiling, preventing water from seeping into the walls and causing damage. By installing a waterproof membrane, you can protect your home from:
- Water damage and stains
- Mold and mildew growth
- Structural damage and deterioration
- Electrical and HVAC system damage
Choosing the Right Waterproof Membrane

When selecting a waterproof membrane, consider the following factors:
- Material: Opt for a membrane made from a durable, water-resistant material, such as PE, PVC, or EPDM.
- Thickness: A 2mm thick membrane is recommended for most applications.
- Adhesion: Ensure the membrane adheres well to the surface and is resistant to peeling and flaking.
- Appearance: Choose a membrane that matches your interior design style and won't disrupt your minimalist aesthetic.
Materials Needed:
- Waterproof membrane (choose one that suits your needs)
- Adhesive (for surface preparation)
- Rolling tool (for smoothing out air pockets)
- Measuring tape
- Caulk gun
Instructions:
Step 1: Prepare the Surface

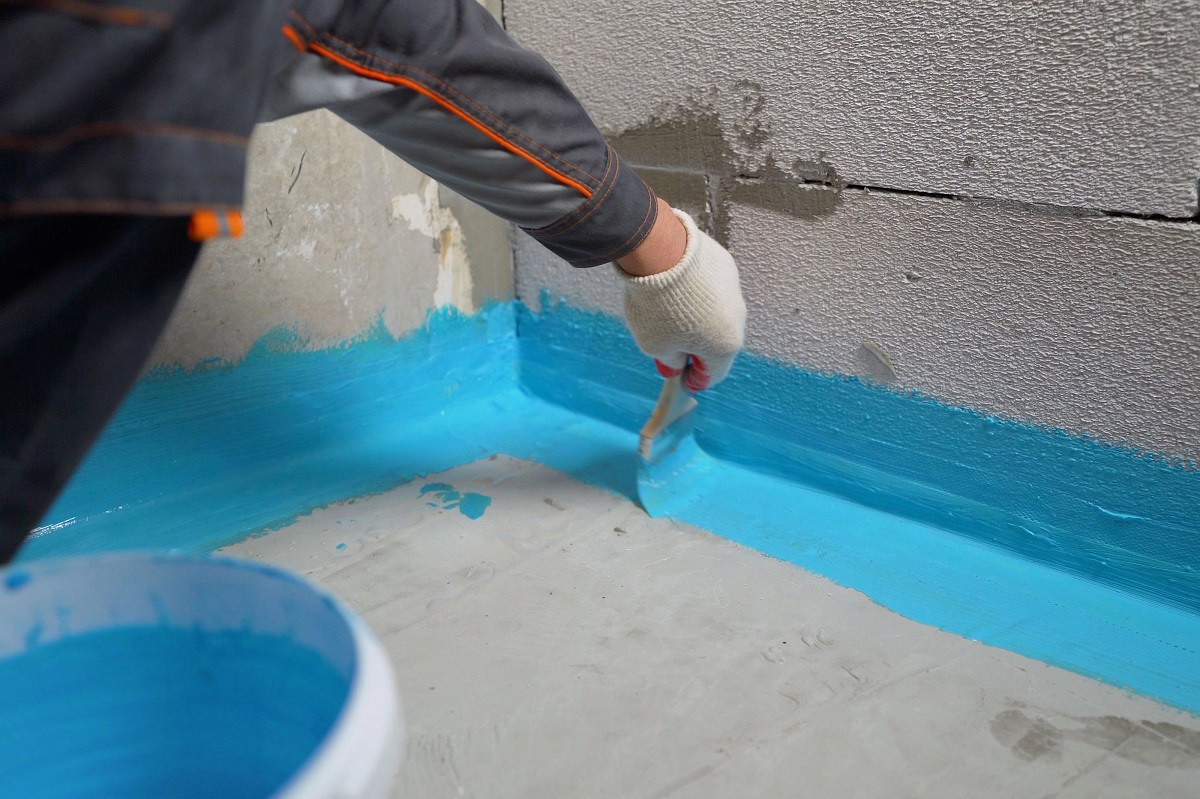
Furthermore, visual representations like the one above help us fully grasp the concept of Diy Waterproofing A Minimalist Living Room With A Waterproof Membrane.
Ensure the surface is clean, dry, and free from any debris. Apply adhesive to the surface and smooth it out with the rolling tool. This will create a solid bond between the membrane and the surface.
Step 2: Cut the Membrane
Measure and cut the membrane to the desired size, leaving a 1-2-inch margin around the edges.
Apply the membrane to the surface, ensuring it's smooth and even. Use the caulk gun to seal any air pockets or gaps.
Step 4: Secure the Membrane
Use the caulk gun to apply caulk along the edges of the membrane, ensuring a watertight seal.
This particular example perfectly highlights why Diy Waterproofing A Minimalist Living Room With A Waterproof Membrane is so captivating.
Benefits of DIY Waterproofing with a Waterproof Membrane
A DIY waterproofing project with a waterproof membrane offers several benefits, including:
- Cost-effective solution
- Easy to install
- Long-lasting protection against water damage
- Low maintenance
- Increases the value of your home
In conclusion, DIY waterproofing a minimalist living room with a waterproof membrane is a simple yet effective solution to protect your home from water damage. By following the steps outlined above, you can ensure a watertight seal and enjoy a moisture-free living space.
Additional Tips and Considerations
When considering a waterproof membrane for your minimalist living room, keep in mind:
- Regular maintenance is crucial to ensure the membrane remains effective.
- Inspect the membrane regularly for any damage or signs of wear.
- Replace the membrane as needed to maintain its effectiveness.
For more information on DIY waterproofing and waterproof membranes, consider the following resources:
- Home Depot
- Lowe's
- Waterproofing expert websites and blogs
- Online tutorials and DIY guides


")


")
